Sat 21 February 2015 | tags: arduino, electronics, LiPo, nrf24l01, -- (permalink)

Over the last few months, I've been getting back into electronics. It's really not fair what's available now, that wasn't available when I was a kid! Arduino's for a start are a very easy way to get into microcontrollers. And with the Arduino scene has come lots of small electronic components for only a few dollars each.
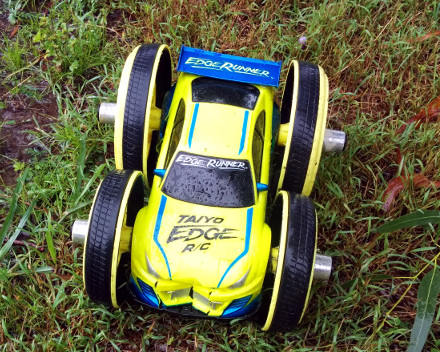
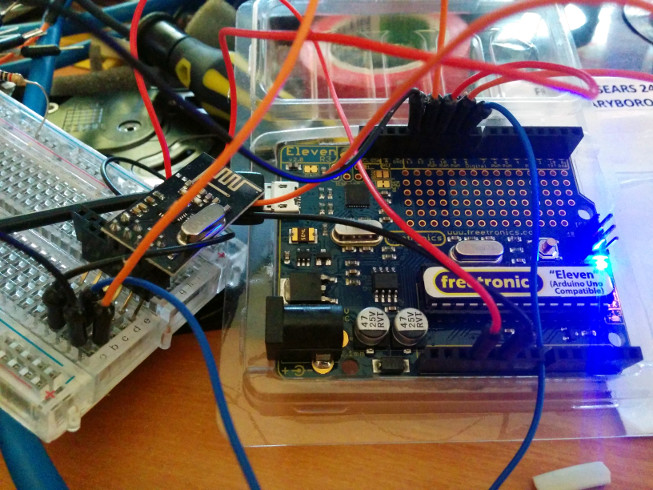
As part of a bigger project, I'm automating my RC car from my childhood. The Taiyo Edge car was an awesome toy as a kid, with it's ability to flip over and still keep driving. As a kid, I'd get a top of 10 minutes driving time out of the NiCd battery. Now I'm lucky to get 5 minutes. So the first part of my project is to put an Arduino onboard, with a LiPo battery, and a NRF24L01 to communicate back to my other Arduino for monitoring the battery voltage. Later I'll use the the Arduino to control the car as well.i
After designign the circuit in Fritzing, I proceeded to solder components to a protoboard with the Arduino Nano. I recently purchased a proper soldering station, temperature controlled, and I'm really glad I did. I wish I had one as a kid. No more waiting for the iron to heat up, it's ready in 10 seconds or less. Soon I have the Arduino Nano wirelessly reporting the LiPo's voltage back to me, and wire it up to the car. The LiPo I got was a 7.2V 1000mAh pack, that's about 1/2 the size of the NiCd that was in the car. Plenty of room for it, and even with the lower voltage it drives the car well.
We took the car outside for it's first test run on a LiPo, and was pleasently surprised with how well it performed, and how long it went for! We had about 20 minutes driving time before we called it quits, and that was mostly due to the rain, and because Nathan had crashed the car into the trampoline cracking the shell. The voltage measurements continue to stream back to my computer inside, which I monitored via my phone. By the time we stop, I still had plenty of voltage to continue driving, and the LiPo hadn't warmed up at all.
The next step is to remove the RC circuitry, work out what I can use, and then replace it with circuitry that I can control via the Arduino. I also have some Ultrasonic sensors for obsticle avoidance.

